
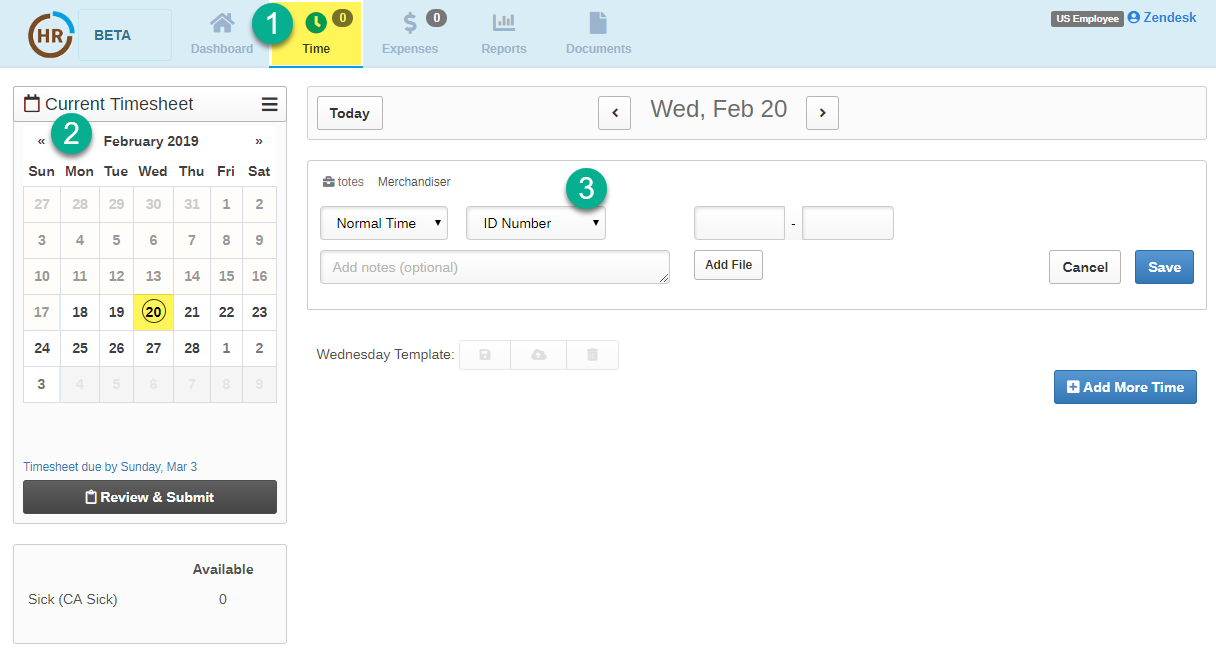
1. From the home screen, also known as the Dashboard, Enter hours by Clicking on the Time module
2. Select the Date you are entering time for using the Calendar feature.
3. Select the Store Serviced from the ID Number drop down menu.
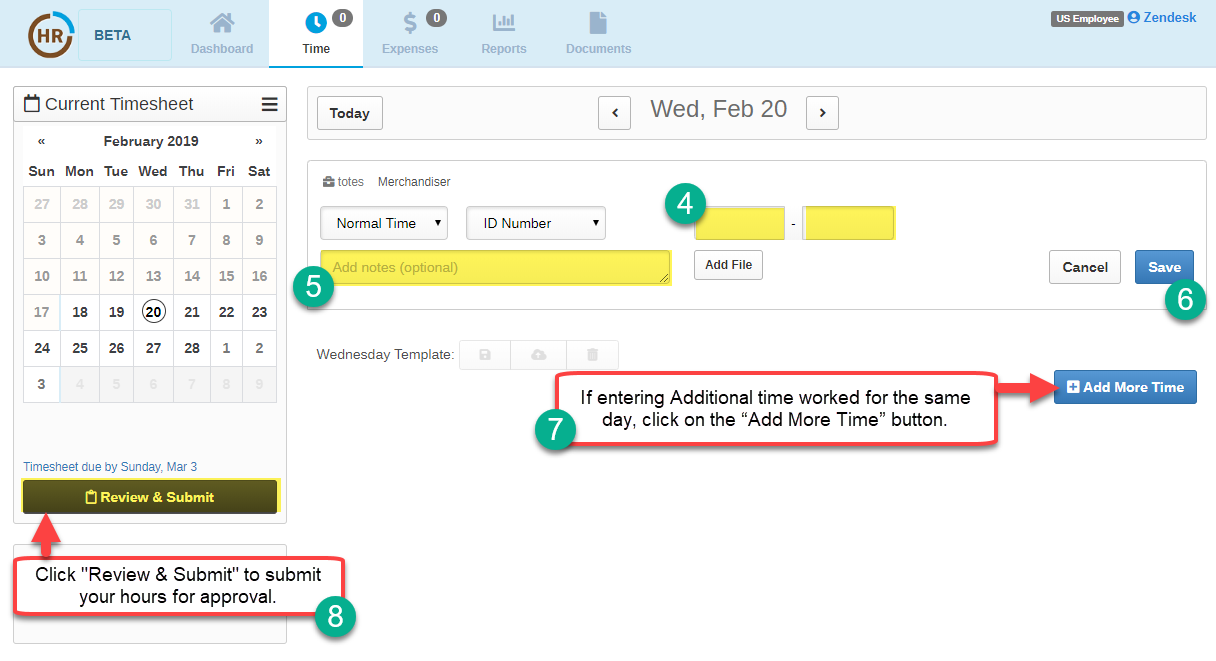
4. Next, Enter your start and end times for the specified store
5. Click on the "Add Notes" box to add the Store Manager's Name
6. Click on the "Save" button to save your time entry.
Please note that "Normal" time is the default type of time to be logged and is considered regular hours.
- If you are an employee with Sick, Holiday or other types of time, additional options will appear in the drop down menu.
In order to submit your saved hours for approval, please click on the "Review Timesheet" tab. This will direct you to the Timesheet Review page where you may review your hours.
If everything is correct, you may click on the  button under the calendar feature. This will send the timesheet to your regional manager for approval.
button under the calendar feature. This will send the timesheet to your regional manager for approval. Please note that hours and expenses must be submitted separately for approval.
0 Comments